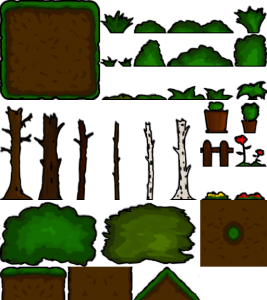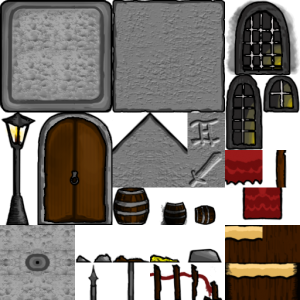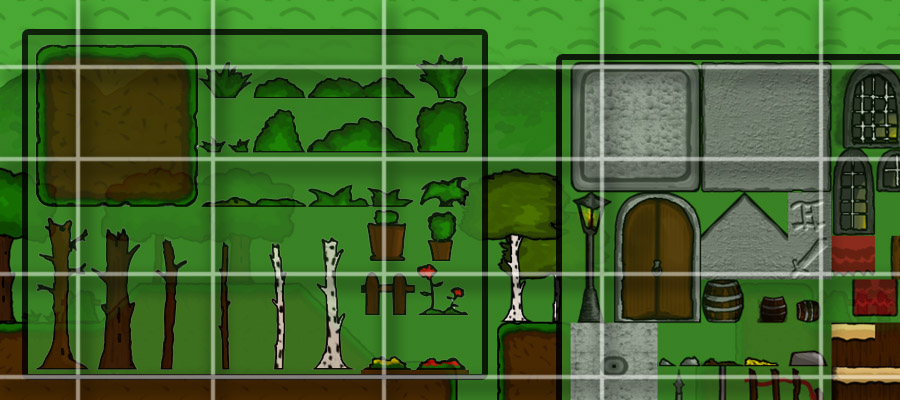
Tilesets are a wonderful way to create 2D worlds of any size. Back in the 80’s and 90’s, most games used tile-based game worlds because it was the most space-saving approach of creating big levels and disk space was extremely limited at that time (Super Mario World on the SNES had a file size of less than 512 KB). Although nowadays disk space is no more issue at all, tilesets are still popular when building 2D game levels, especially in platformers and top-down RPGs.
With modern drawing software such as Photoshop, creating tilesets is a rather comfortable and enjoyable task, even if you have to use your imagination sometimes to break down your fancy world into little squared tiles. Far bigger is the satisfaction in return when you start building your level step by step while a great piece of art is emerging.
Consider tile size
The tile size is the width and height of one tile in pixels. In the early times of tilesets a tilesize of 16px was common. Nowadays with resolutions of full HD and higher things would get a bit tiny if you would still go with this size (unless you want to go for a pixelated look and upscale your graphics). For technical reasons it’s great to use powers of 2 (so 16, 32, 64, 128, 256 etc.). Personally I’d recommend 64px and I would definitely not get above 128px because otherwise a tile-based map wouldn’t make any more sense.
Start Drawing
- Create a new image in Photoshop. Use Number of tiles in X/Y direction multiplied by your tilesize as the dimensions.
- Create a new layer on which you draw your tiles (don’t draw on the background layer because you’ll need a transparent background)
- Enable the tile grid using Ctrl + H. To adjust the tile size, go to Edit -> Preferences -> Guides, Grid & Slices and enter your tile size at box beside Gridline Every.
- Select the rectangular marquee tool and under its properties set the style to Fixed Ratio and the width and height to your tile size.
- In your canvas make a rectangular selection of the tile you want to draw now.
- Draw your tile.
This way you can easily draw your entire tileset. If you don’t need the rectangular marquee as boundaries you can omit that step or you can set the marquee style back to Normal and drag it up any size you want.
Tile transitions
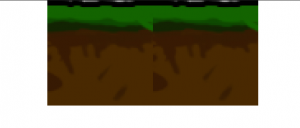
A basic requirement to create natural-looking tile-based 2D worlds is that tiles which are repeated side by side are transition perfectly into each other, meaning there is no visible edge. To achieve that I will show you a simple trick.
- Select your tile, copy it and move the copy next to the original tile (Use the Move Tool, hold Alt and start dragging the tile). Turn off the grids (using Ctrl + H) and you will see the where the two tiles are not correctly transitioning (unless you’ve made it perfect on the first run).
- Select the first original tile again.
- Start to “repair” the bad transitions areas by drawing on the right side of the tile until the two tiles merge perfectly into each other.
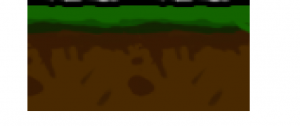
- Delete the second tile (the copy).
If you tile should transition into both directions you will have to do these steps twice, horizontal and vertical.
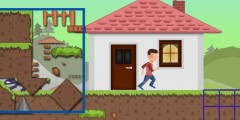
Following these simple steps you can give your creativity full scope and create awesome tilesets to create even more awesome game worlds. Have Fun!